7.19.2017

Jill Valentine Completed

Jill's outfit was fun and challenging to make and I'm really happy with how it turned out.


It was one of the faster cosplays I've done simply because this year I've made a goal to finish at least three. One down, two to go! The next two that I'm currently working on are ones that I've been wanting to do for a good while! So stay tuned and keep an eye out for what's coming up next!

Thanks for reading!

{WarriorClassStudios}

7.11.2017

Jill Valentine - The Fun Details Part 2


Let's start with Jill's I.D. card. Found this image screen shot from the game, cropped it, printed it. Little blurry but that's okay, it works. I already had some hard plastic card sleeves so I just slipped it in one of those. Will try to get a better image at some point.


Now for the ammo. As I mentioned in the last post, "PaulElderDesign" is where I got the downloads for both the First Aid Spray and the ammo from. I bought the files and had them printed out at Office Depot on #110 Cardstock. I got two copies of each, just in case I messed up or wanted more than one box.


After I printed them out, I cut them out carefully, and folded them using a hot glue gun to stick the folded edges together. I left one side open to put 'ammo' in. I filled mine with some leftover small plastic tubes to keep them from getting smashed in.


 There are a few others in the game, maybe someone out there has the designs or skill to make them.


 Next are the viruses. It would be cool to eventually get one like in the movie but for now I've got some test tube ones. I just searched online for some example of what others had done. These are awesome:


I may do some better ones eventually but for now, I used some food coloring I picked up at the grocery store and more of the "Glitter Mixing Tubes" I got at Michael's.

Blue = Tyrant Virus
Green = Tyrant Anti-Virus
Red/Orange = T-Abyss Virus
Purple = Las Plagas (G-Virus)


Fill with water, add drops. I put no more than two drops in each, some only needed one.


 Lastly, I added some maps to my Jill outfit. Looked online for some images from the games and found these:


Printed them out and put them in the pouch. This last one^ in particular fit inside the clear plastic fold-out that's in the "Reebow" pouch.


This has been a challenging outfit to complete but very fun. Every costume I do I learn a bit more. Thank you for reading!

{WarriorClassStudios}

7.04.2017

Jill Valentine - The Fun Details Part 1


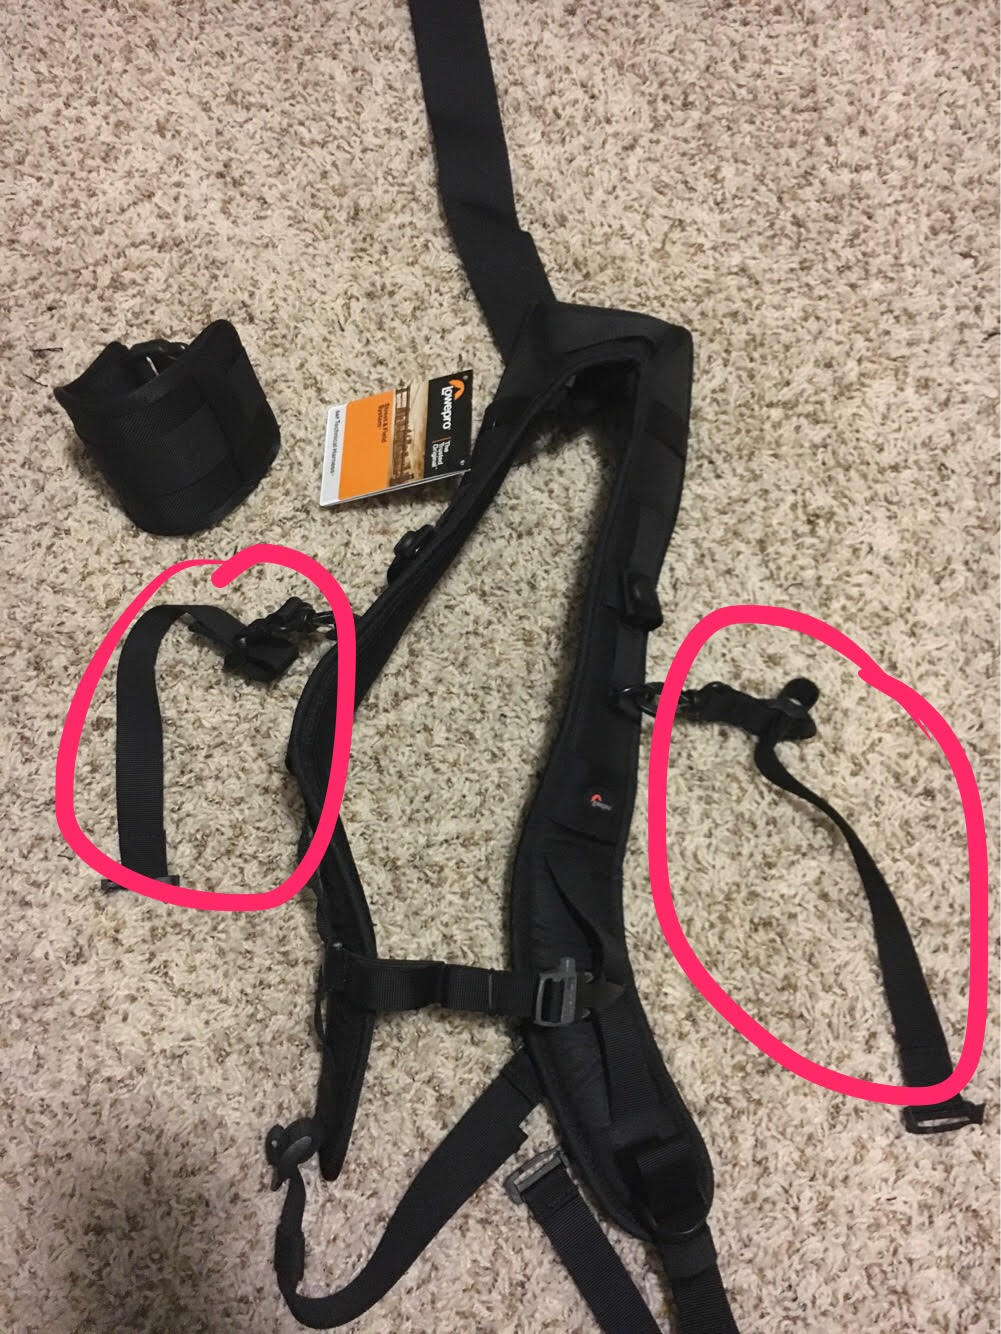
In this post, I'll share with you how I got together the First Aid Spray, Herbs/Mixed Herbs, and Grenades. Jill carries two visible First Aid Sprays on her back left hip. And it looks like they're just strapped on to the utility belt.


 This is what I used to hold the First Aid Spray. More on how I threw this together in this previous post.


For the First Aid Spray itself, I needed something that was going to fit well on the belt, not too heavy or bulky, so I decided on a smaller sized can of spray paint from Michael's. You can also get it on Amazon.


 I took off the lid and emptied the paint into a strong east wind because I had no use for glitter paint, and the size I needed didn't come in any other colors...
I bought the digital downloads for the First Aid Spray from "PaulElderDesign" on Etsy. He sells the downlads for the ammo as well. The design is a little different form the one in the game, but it could also be another version (changes throughout the games over the years). I took the design to Office Depot and had them print out the files on #110 Cardstock (I got two copies of each as well as for all the ammo). Was about $20, not bad.

Next I peeled off the label on the spray paint and had to trim down the sides of the print out so it would fit under the grooves of the can.


 I used a hot glue gun only on the part where the label overlapped to avoid bumps under the surface.


"RedDevil00" was a big reference for all of these details, by the way. Thank you!

For the herbs, I wanted to use actual edible herbs (not that I'd whip them out and start eating them, just for realistic purposes). I had some glass (I think?) tubes already but I also wanted some smaller ones. If you've ever been to a Ren Faire and bought a rose, they come with a little tube of water on the ends. I had a billion of those (I saved them for prop purposes) and used them for this! I put some hot glue on the top to seal the hole where the stem was, but it had come off a while later.


Then I found these at Michael's! Instead of a top that kind of pops on, the tops twist screws on, so no gaps or holes- perfect! They're called "Glitter Mixing Tubes" and you can find them on Amazon, too.


Now that I had small tubes and larger tubes, it was time to fill them. I went to my local grocery store and picked out these. They each had a the color I was looking for- bright and distinctive, and more importantly, they each had a different texture.
Green = Parlsey
Yellow = Chicken Stock Base
Red = Blackened Seasoning


I put some in small tubes and then combined some in the larger tubes to get the 'mixed herb' look. I put the heavier yellow towards the bottom and the lighter green towards the top, but it also helps to make them almost full so there's no room for them to shuffle around.


Michael's as well as Amazon also has some smaller glass cork bottles.

Grenades. Regular explosive, flash and incendiary. Jill carries one visibly in the flash bang pouch at her back right hip. But more can be carried in the pouches or if you choose, the triple mag pouch.


This one has been a little tricky for me and I'm actually still in the process of making them. I took an air duster can and decided to use that because it's the right size and it already has a 'grenade-looking' cap.


My original idea was to print out the design on the outside of the grenade and glue it on like the First Aid Spray but that didn't work, so I decided to just paint on the design free hand and with stencils. The designs of the grenade labels vary but I chose the ones pictured above^.


Went to Home Depot and picked out these colors:

Because I haven't finished with this part yet, I can't really walk you through anymore but if you have a better/easier idea let me know!


Once I've completed them or given up and tried something different to achieve the grenades, I'll let you know!

{WarriorClassStudios}

6.30.2017

Jill Valentine - Triple Mag Pouch, Knife and Undershirt

 In addition to her utility belt and harness, Jill has a triple magazine pouch on her left leg.


The one I got is by "American Tactical Supply" from Amazon for around $18. Make sure to select 'triple' and 'black'.


All that's really needed here is to add a strap to go around the leg, and one to hang from the utility belt. (You can put the pouch directly onto the belt but that a. takes up more space on the belt, and b. makes it ride high.)

I, again, reused some material and straps and buckles from this and previous outfits. For the strap that goes around the leg, I took the strap with buckle attached off of the cuff that came with the shoulder harness.


I had some strap left over (from Carter, I think) that I used to sew together to make it longer. The reason I did this was to reuse the buckle and materials, save money pretty much. And why not?


This 5.11 buckle/looper you see here^ came on a belt that came with the 5.11 pants I ordered. This will keep the strap in place at whatever length fits comfortably around your leg. Reuse!

For attaching to the utility belt I went with two straps instead of one. Reason being that the mag pouch doesn't really have a place to attach one strap in the middle (although, you can make a horizontal strap that crosses the whole thing and hook it to that). I reused some half-elastic half-nylon straps and sewed some velcro to each of their opposite sides. Then I added on 25mm quick-release buckles.


That side of the buckle goes to the belt. This side of the buckle that attaches to the triple pouch, I used the other straps from the shoulder harness.


I looped them through the buckles, through the straps on the pouch and then connected it to itself. Same way as the one that connects her shoulder harness under her arms.


Now, having done all this, the pouch proved to be too much with all the other 'items' on my person as Jill. It made the look too bulky and this sometimes proves true, what works for video game characters doesn't always work IRL. However, I have it if I ever want to add it on. Plus, technically Carter has a triple mag pouch. Or at least SG-1 used them in the first couple seasons before switching out for their zatgun holsters or nothing at all. If you don't know what a zatgun is, go watch Stargate. Or google it.

Onto the knife! Jill's got a knife for close- range combat that she carries on her right lower leg. You run out of bullets, it's good to have another backup for incoming zombies.


 I always keep in mind ways I can use one characters costume piece for another outfit. So, I had been wanted to get a knife and sheath for Carter. This one is what I chose: The "Ontario SP2 Air Force Survival Knife", which I got on Amazon for around $38. Comes with the sheath, which is what I'll be wearing to a con, not the knife itself. Nice quality knife and tough material on the sheath. Has a snap at the top for the handle and on one side of the opening to cross over the hilt.


I took some extra straps and buckles and made some simple straps to go around my leg at just below the knee and above the ankle (above the boot!). These are not perfect but as long as it stays on I'm happy. The boot itself will keep the sheath from sliding down so just make sure the tightness is right and there you go!


Lastly, is Jill's undershirt. You don't have to have this part either. I have it as another layer to her look. But more importantly, it's so you can take off her outer top if it's too hot. Surrounded by crowds of people at cons, it can get pretty toasty.


I already had a simple navy blue top from "Gap". Navy blue, black, pink, up to you. Are zombies color blind?

{WarriorClassStudios}