6.30.2017

Jill Valentine - Triple Mag Pouch, Knife and Undershirt

 In addition to her utility belt and harness, Jill has a triple magazine pouch on her left leg.


The one I got is by "American Tactical Supply" from Amazon for around $18. Make sure to select 'triple' and 'black'.


All that's really needed here is to add a strap to go around the leg, and one to hang from the utility belt. (You can put the pouch directly onto the belt but that a. takes up more space on the belt, and b. makes it ride high.)

I, again, reused some material and straps and buckles from this and previous outfits. For the strap that goes around the leg, I took the strap with buckle attached off of the cuff that came with the shoulder harness.


I had some strap left over (from Carter, I think) that I used to sew together to make it longer. The reason I did this was to reuse the buckle and materials, save money pretty much. And why not?


This 5.11 buckle/looper you see here^ came on a belt that came with the 5.11 pants I ordered. This will keep the strap in place at whatever length fits comfortably around your leg. Reuse!

For attaching to the utility belt I went with two straps instead of one. Reason being that the mag pouch doesn't really have a place to attach one strap in the middle (although, you can make a horizontal strap that crosses the whole thing and hook it to that). I reused some half-elastic half-nylon straps and sewed some velcro to each of their opposite sides. Then I added on 25mm quick-release buckles.


That side of the buckle goes to the belt. This side of the buckle that attaches to the triple pouch, I used the other straps from the shoulder harness.


I looped them through the buckles, through the straps on the pouch and then connected it to itself. Same way as the one that connects her shoulder harness under her arms.


Now, having done all this, the pouch proved to be too much with all the other 'items' on my person as Jill. It made the look too bulky and this sometimes proves true, what works for video game characters doesn't always work IRL. However, I have it if I ever want to add it on. Plus, technically Carter has a triple mag pouch. Or at least SG-1 used them in the first couple seasons before switching out for their zatgun holsters or nothing at all. If you don't know what a zatgun is, go watch Stargate. Or google it.

Onto the knife! Jill's got a knife for close- range combat that she carries on her right lower leg. You run out of bullets, it's good to have another backup for incoming zombies.


 I always keep in mind ways I can use one characters costume piece for another outfit. So, I had been wanted to get a knife and sheath for Carter. This one is what I chose: The "Ontario SP2 Air Force Survival Knife", which I got on Amazon for around $38. Comes with the sheath, which is what I'll be wearing to a con, not the knife itself. Nice quality knife and tough material on the sheath. Has a snap at the top for the handle and on one side of the opening to cross over the hilt.


I took some extra straps and buckles and made some simple straps to go around my leg at just below the knee and above the ankle (above the boot!). These are not perfect but as long as it stays on I'm happy. The boot itself will keep the sheath from sliding down so just make sure the tightness is right and there you go!


Lastly, is Jill's undershirt. You don't have to have this part either. I have it as another layer to her look. But more importantly, it's so you can take off her outer top if it's too hot. Surrounded by crowds of people at cons, it can get pretty toasty.


I already had a simple navy blue top from "Gap". Navy blue, black, pink, up to you. Are zombies color blind?

{WarriorClassStudios}

6.19.2017

Jill Valentine - Shoulder Harness and Mag Pouches


Jill's shoulder harness- another essential part of her outfit. I'm really happy with the way this one turned out. First thing I did was look up a bunch of various types of shoulder harnesses to find the one that would match the most in terms of look, texture, shape etc. I decided to go with Lowepro's "S&F Technical Harness". It can also be found on Amazon for a little less.


I chose this one because, while it's a rig used for photography, it was made of the material I was looking for, black, sturdy/tough, correct size, and it already had some of the straps and 'D-rings' in the right place! This is what it looks like out of the box:


First, I took off the straps that could be removed: the one in the middle that horizontally connects to the two shoulders and the two on either side that were clipped on the shoulders. Leave the two at the bottom ends of the shoulders on as they will loop under the armpit to connect to the back. I also took off the 'Lowepro' logo.

My plan was to cut each strap at the same place, switch sides, and sew them back on at the back of the harness, achieving Jill's 'H' harness. I found the spot I was going to cut by putting the harness over my shoulders as if I were wearing it.


I cut through the whole strap right under this seam^. Same for the other strap.


 The material I used on the edges here^ to close the opening was actually from the Reebow pouch I mentioned in this previous post. I had taken it off while merging the two pouches. I like to reuse materials I have to save money and it's creative!


I did the same for the other side. And the same for the other two halves I just cut off. (The strap I had cut through on top I kept on^, and sewed it into the hem.)


Next, I took off the long piece that goes down the back. No cutting, I just un-stitched it.


The next step is to re-attach the straps on the back/bottom *on opposite sides*. The reason I exchanged their sides is because they curve slightly to one direction or the other. To maintain a smooth flow over the shoulder, under the armpit and up the side of the back, the curves make a sort of semi-circle. I had to fidget a little here to get the right angle. If the angle is too sharp, your straps are coming out of the back into your arms instead of under. If the angle is too wide, they're coming straight down your back. I had to pin and re-pin as I held it on me to get the angle right, just so the straps come under your armpits.


You can see in the picture above that I folded that little piece, which had the strap down the back attached, over the other two pieces.


The strap that is left on, becomes the strap that connects the front to the back underneath the arms, and holds her spare mags. You can see about where the straps should rest under the arms, but do what's comfortable for you! Keep in mind where the mag pouches are going to hang from.


Once you've got it just right, sew!


I sewed the straps to the back, the straps to the folded piece, the folded piece to the back, the straps to the straps back and forth, to make it really secure! Pictured above^ is that horizontal piece that was originally connecting the two shoulder straps before I took it off. You can reattach it or not, it comes off fairly easy. Now how I connected the strap under the arms:

I left this completely the way it came. Instead of cutting and sewing, I simply slid it over this strap that crosses the end:


...Back down under it and attached the strap to itself, making a loop. This way, I didn't have to cut anything else and it was just as secure, and more than that, it's adjustable.


Now let's talk about the magazine pouches! Jill has three on her, two under the arms and one on her belt. I don't think I mentioned the one on her belt in this post but I'll do that now.


This specific pouch is called the "Condor MA23 Double Pistol Mag Pouch" that I got on Amazon for around $10. Got three of them and they fit perfectly. They come with the sliding straps you see in the pic above that can come out completely. I've got them adjusted to close over the top two rows of straps. This way they are high enough under my arms not to hit my utility belt. Adjust it for what fits you!
Now you don't have to put anything in these. Obviously, you're not going to wander around a con with some mags. Maybe even empty ones are not a good idea. I wanted to be somewhat realistic, so I got some wood with tape to serve as my spare mags. They add some weight but not a lot.


Went to Michael's, got two pieces of wood called "AM WD Pine Plaque" and cut them into thirds. Put some black duct tape on them and boom. The sliding adjustable straps that come with the pouch are what I used to attach it to the shoulder harness. Slip it on to the strap under the shoulders!

Another detail on the harness is Jill's walkie talkie, specifically, the pouch that holds a walkie. Also not necessary but I added it anyways. I looked for a smaller one that wouldn't be too heavy, with the shape I had in mind. It was hard to find a picture that actually showed the walkie. In some of the previous pictures I've posted, you can see parts of it, but here's one screenshot from a video:


The walkie talkie pouch I found is the "Condor HHR Pouch" which you can get here for $9.
 I haven't got a walkie yet so I just put an old cell phone in there.


I attached it to the left shoulder of my harness using the straps that were already on the harness and pouch itself.

The harness came out beautifully! It fits so comfortably:)


I hope this has helped. Feel free to ask any questions regarding this costume or any other!
Thank you!

{WarriorClassStudios}

6.15.2017

Jill Valentine - Shirt


This version of Jill wears a blue and grey/black shirt/athletic top. There's different ways to go about putting this together but I went with the method this person came up with:

 Like she mentions, the two tops that are spiced together are called "Women's Glacier Half-Zip" and can be found at 5.11 Tactical or Amazon in the colors 'Atlantis' and 'Black' (dark grey). As also mentioned above, the seams that run along the sides match making it easy to trade one section out for the other color. As for the rest of the shirt, it's more difficult. Actually, one of the most difficult costume pieces I've done. I had started it and than had to start over because the way I was putting all the different parts on was too complicated. The second time around was easier although still very time-consuming and in the future I think I'd make another one just because I'm picky. But for now, this one works.

I started with the sides because they were the easiest. I did a ton of taking out the stitches rather than cutting to save material. (These shirts are a little pricey so I used every bit I could.) Here are the two side by side before beginning:


After removing one side, I hemmed the sides but left the bottom edge alone. When I did this the first time my plan was to fully replace each part- so remove the blue and put in the grey. This time I just sewed each part over top. Maybe by my third try, if I attempt this again, I will get it right!


And I did the same for the other side.


 Next up was the sections that led from the armpits to the shoulder. Again, I tried to do this as one big solid piece but it proved easier to break it down into two parts: first, the one you see below and the second, going across the collarbone from the shoulder to the collar. For this first part, I made sure I had the right shape of fabric I needed and then hemmed, pinned and sewed.


 I used references pictures to get the design as close as I could. Although it's not exact I'm still happy with how it turned out.


 The back section that crosses from the armpit over up to the shoulder/trap/collar was a little harder because I did want to keep this in one solid piece to have a smoother effect. After multiple tries, I got the shape I wanted and then pinned and sewed.


This was my reference image for most of it. It appears to go over the one horizontal seam of the shirt along the back and connect to the collar


 This is one rendition of her outfit where you can see the dark grey pattern follows up the sleeve across the collarbone to the collar. I assumed the back would match the same way.


 Then I took the section off of the dark grey shirt that sits at the collarbone and shaped it, hemmed, and then sewed it onto the collarbone of the blue. For the bottom and side edges, I took out the stitching but I cut a line across the top (leaving a little extra to hem). Before completing this step, I removed the collar and zipper so that when I replaced the collar, I would be sewing over the edges of the grey material that meet the collar, hiding those seams.


 The blue collar, I switched out for the grey one. I kept the zipper attached to the collar and only removed the grey material of the shirt from along the sides of the zipper. I removed the small square blue portion of the zipper from the blue collar's zipper and sewed it on the grey one.


I folded over the edges and pinned it so the collar would line up appropriately. Then I proceeded to sew on the collar to the shirt. There is a second layer to the collar once the stitches have been removed. The inside layer and the outside layer were hemmed inward towards each other with the rest of the shirt collar going between them. Kind of like a sandwich.


After finishing the collar, next is the sleeves. This isn't the order it has to be done in but for me, the sleeves were the hardest part. Jill's sleeves are 3/4 sleeves ending at about mid forearm. I probably made this harder than it needed to be but I had never altered sleeves before. I would definitely do it differently next time which is why you should probably not do what I did. If I do this again (because I'm picky and am not satisfied until I get it right, at least to a certain standard), there are already things I'd do differently. But. What I did was, I cut the sleeves off of the blue at about the right length, keeping some extra for hemming. I then took the ends off the grey sleeves to shape them and sew them onto the blue. This was so that the 3/4 sleeves wouldn't be loose but fit the arm well as the came towards the hand. I had to go back and modify this a bit afterwards as they were a little too small.


 I then had to shape the ends so the grey pattern would flow well from the armpit down the arm. Even after fidgeting and modifying there is still part of the material that bunches up but like I said, next time it will be better. I used many of the previously posted pictures as reference pictures and all in all, it fits well and is comfortable.

For the two stripes down the back, it was tricky but I finally got them where I wanted. I cut two long strips from the back of the grey top, folded in half and measured about 1cm from the folded edge. I sewed a line along the length of it and then unfolded and refolded the strip, so that the seam was underneath and hidden. This gave me a uniform thickness for the stripes.


For the ends, I had cut out the shape but I had to fight with it a little to get it to curve the way I wanted. It was not the right shape to go with but I was running out of material!


After I had the right shape, I pinned it to the back. The distance from the grey sides to the stripes varied but overall they should be straight and then curve slightly towards the top, with the ends curving into the back of the shoulders along the horizontal seam line.


Lastly, the chest pockets. Totally unnecessary but I though I might as well. These "Glacier Half-Zip" shirts only come with one chest picket on the left side. And Jill has two. Although hers are both black zippers I decided to keep mine in blue. I know when to settle. I started by removing the chest pocket from the grey top.

*(I had had to buy a second blue top due to my initial failure. This is where I got the extra blue rectangle chest pocket piece and zipper from. JoAnn fabrics or Michaels should have these or something similar.)


After removing the mesh back of the pocket I flipped it and sewed the blue rectangle piece onto the front. (When the pocket opens, this blue rectangle piece shows. Deeper in to the pocket is see through through the mesh. Before sewing on the pocket, I sewed on the zipper*, getting its position as close to the other as possible. I sewed the mesh onto the shirt so that, on the outside, the seam that runs horizontally across the ribs would mirror the one that was already in place.


After putting on the mesh pocket, I carefully cut a slit on the front of the shirt that mirrored the other one over top of the zipper. Make sure not to cut through the pocket. I opened the zipper, hemmed the blue material on each side and made a little zipper stop at the top like the other side. I sewed the right side (facing it) all the way through the pocket because that's not the direction items would go inside. The left side of the zipper gets sewn to the outside of the shirt but not to the pocket. This is the way the sipper attaches and allows items to pass. But you know that.


 All in all I'm happy with how it came out. Obviously, there are many things I will do differently next time. This is a warmer outfit so it's better for a winter Con. But there are other ways to do it (and much easier ways at that) and other materials to use! Do what works for you!

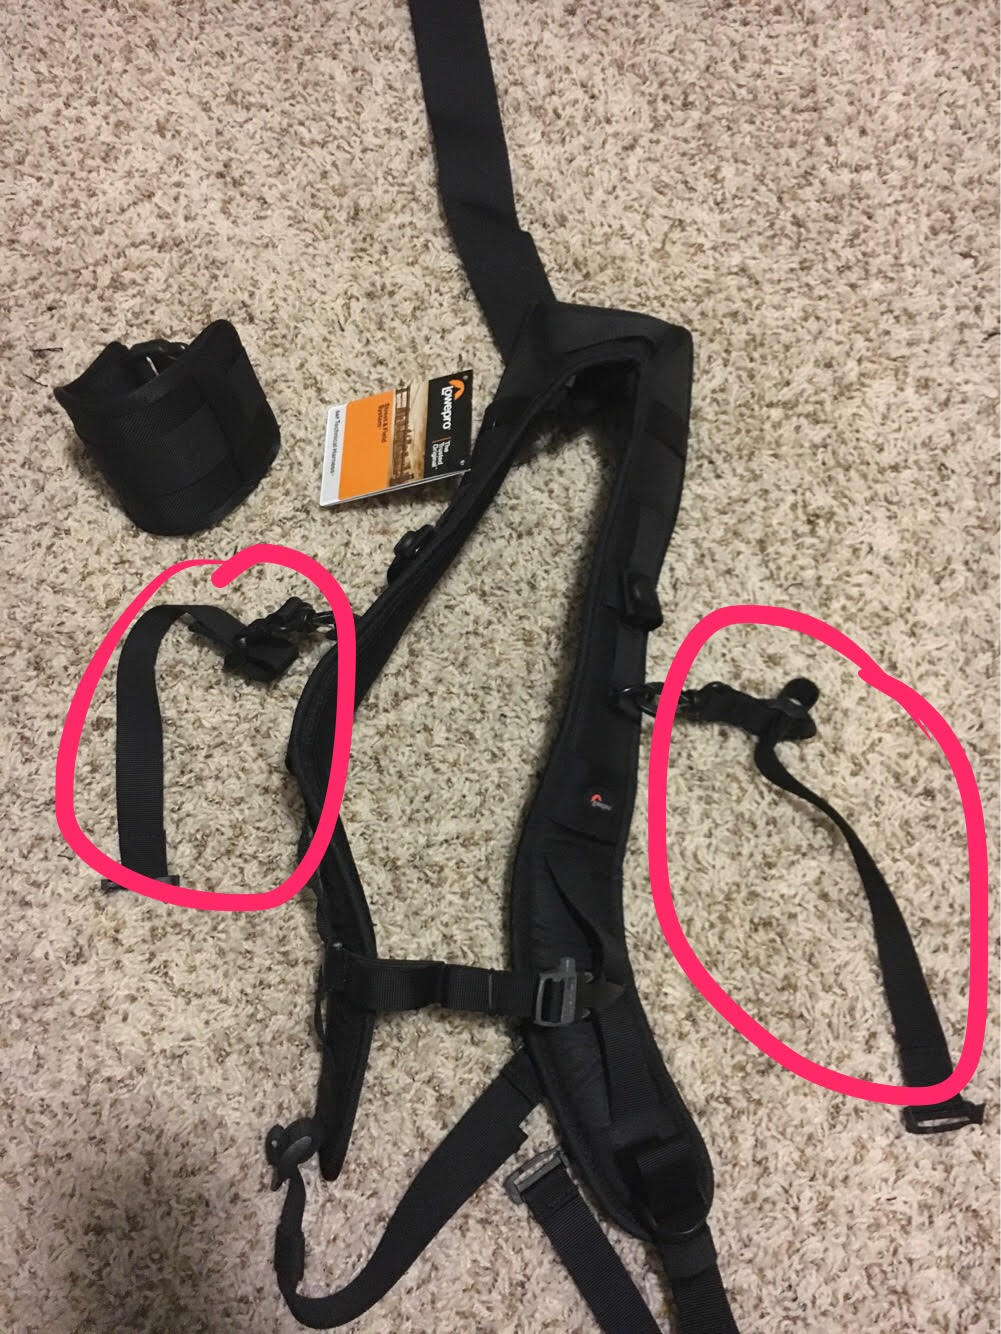
Next up we will tackle her harness!

{WarriorClassStudios}