


The suede I used I got from etsy.com (VidaStop) (1 yard of soft ultrasuede in Ivy) for around $60. It was more ivy or darker on one side than the other so be aware when sewing it on that both sides match. I preferred the darker ivy color. It looks almost brown in the pictures but it is a dark green. (Also depends on the lighting)


BDU shirt^


I used paper to keep the outline straight as well as determine how far up from the chest pocket the bottom of the suede would sit. (Make sure both sides are even!)

First, I took some measurements to determine the cut of the suede. (There's probably a better way to do it but this worked for me) I used pins to outline the edges of where the suede would be and also pinned on the patch temporarily so that I could make sure it would sit in the center of the suede on the side of the arm. I also put on the shirt to see how the outline would move with the arms bent.

Using the screen shots, I estimated the placement of where the suede would go on the back, too.
Check out this post for the patch!
Once I was satisfied with the way it sat, I used paper to trace the outline on the material to cut. I cut the outline larger so that I could fold and sew the edges under for a cleaner look.


Once the outlines were cut, I pinned them in place on the shirt, making adjustments as needed.


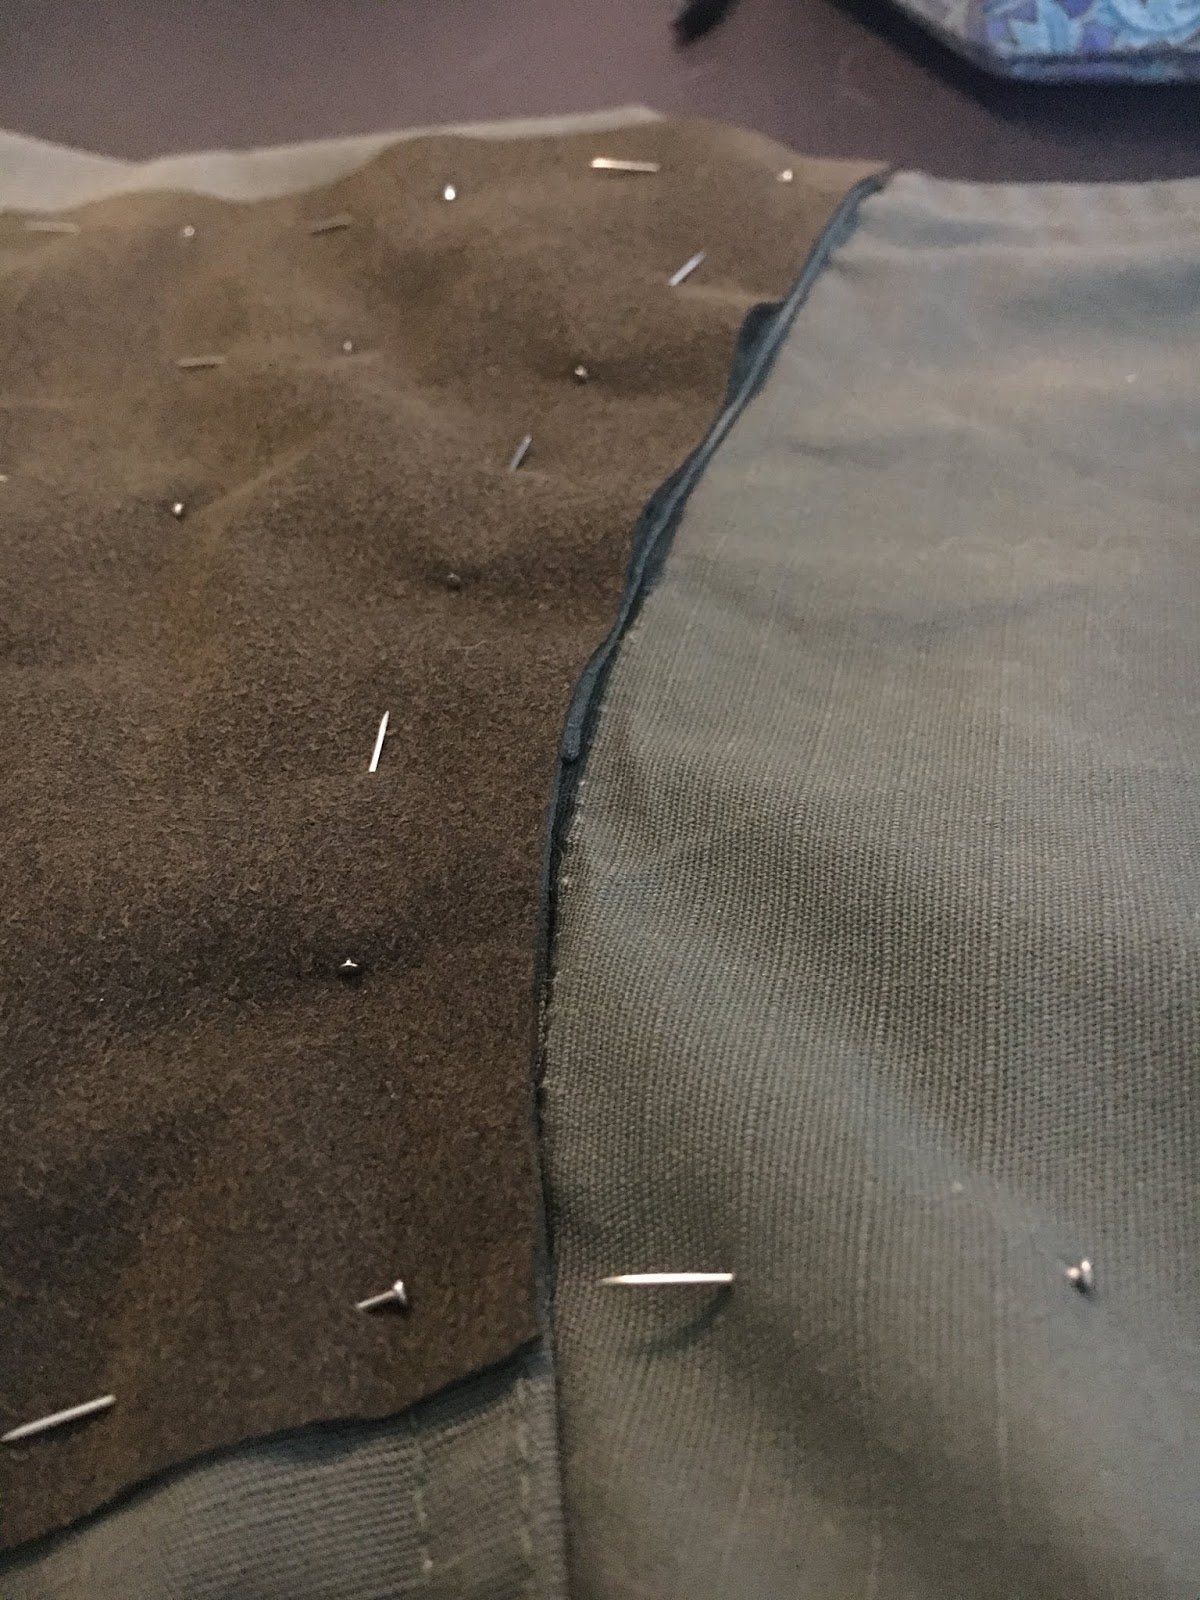


Here^ you can see the difference I color. Make sure your pieces match, and on both shoulders. Then sew it on, folding under the edges.


After that it's time to sew on the patch! It goes on the left shoulder. I tried to center it in the middle of the suede.


Now for the straps and buckles!
This is what I used and where I got it: (Forest green heavy nylon webbing, 1", 1 yard) from Strapworks on amazon.com.

I'm pretty sure I got the buckles from Michael's but they're also on amazon. Simple black duraflex quick-release buckles, size pictured below.


I scuffed up the buckles a lot and then painted them using this paint (Vallejo Liquid Gold alcohol based):


I used this 'Citadel Nuln Oil' paint wash to make the color darker and show the scuffs more. (I'm not sure if I scratched them up more before or after the paint but you can always add more paint.)


I'm pretty happy with how they turned out even if it's not perfect.

For the straps on the chest pockets I cut two different lengths for each part of the buckle. Measuring the pockets, I determined how long each piece would need to be for the buckle to sit just below the flap.

6in^


I looped and sewed the smaller strap to the part of the buckle that connects to the flap of the pocket, sewing it on the inside shown here^.
The longer strap I looped through the other part of the buckle and sewed to the bottom of the pocket.


Same for the other chest pocket.


(Make sure the buckle is sewn facing the correct way)


For the straps and buckles on the cuff, I cut different lengths of the webbing for each part of the buckle. Just under 5in for the fixed buckle (one for each cuff). And about 3in (I took this 6in piece and cut it in half) for the buckle used to adjust the tightness of the cuff.


I tried to line up where I'd be sewing with the seams that were already there. Smaller strap goes on this part of the cuff where it's already set for adjustment.

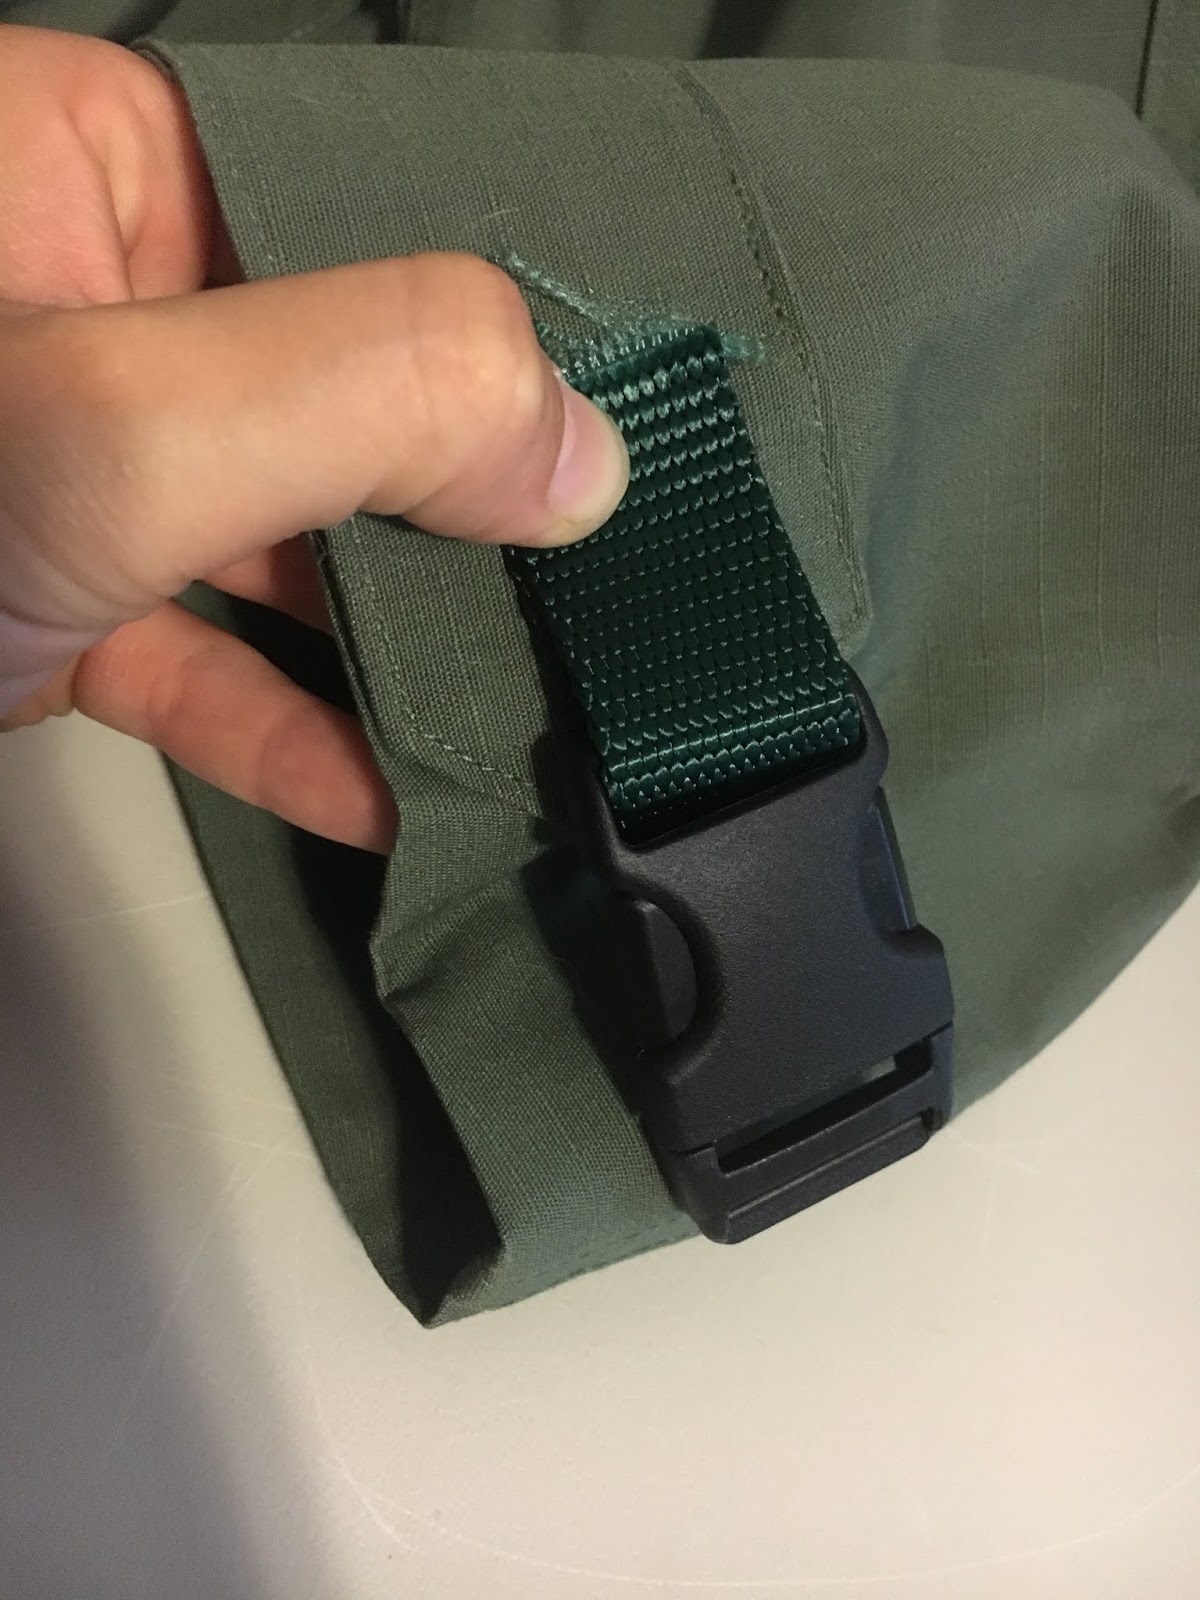


The other strap I sewed about 1 and 1/2 in from this other seam on the cuff. Make sure the strap is also in the middle (sitting same length from edge as to seam of the cuff).


Of course, you can use different lengths, whatever works best for you! So say we all.


I hope you found this walk-through helpful and thanks for reading!
{WarriorClassStudios}